Our solar installation process, step by step

Eight stages from work order to handover. Every stage is checked before the next one starts.

How we execute

From work order to a plant ready for inspection

This is how we run solar installation and commissioning on every site, whether we take the full scope or a single package.

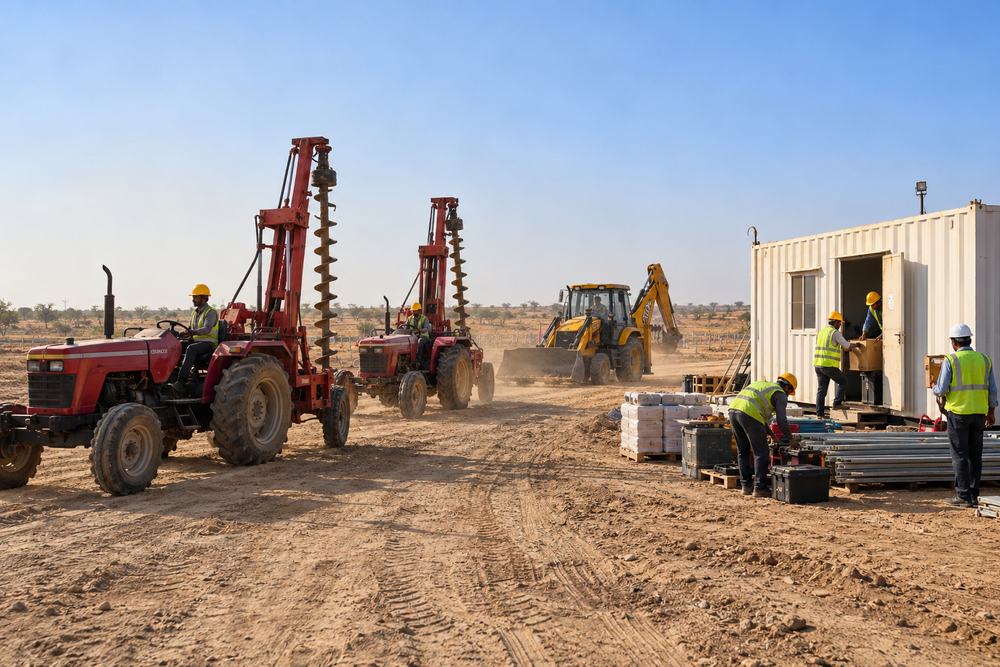
Tractors with piling augers and a backhoe loader arriving at a solar site
Step 1

Mobilisation

Our team and equipment reach the site within 5 to 7 working days of the work order.

  • Site handover and joint inspection with the client
  • Material storage and site office set-up
  • Safety induction for every worker
  • Work plan and daily targets agreed
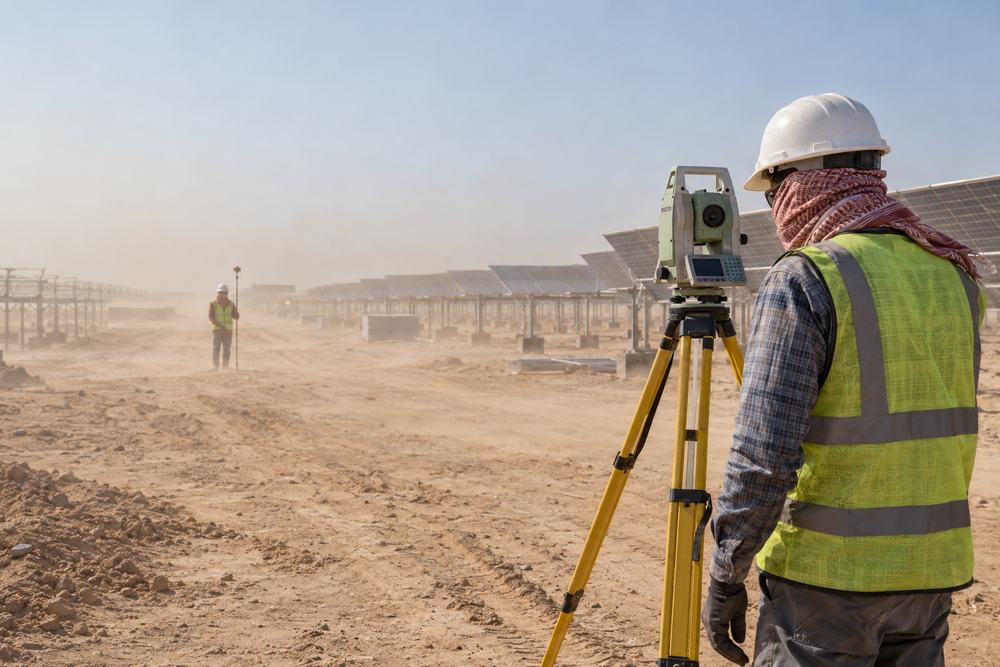
Surveyor with a total station on a tripod at a solar site
Step 2

Survey and layout

Our in-house survey team marks every pile position as per the approved drawings.

  • Reference points and levels fixed
  • Pile positions marked row by row
  • Line and level checked before piling starts
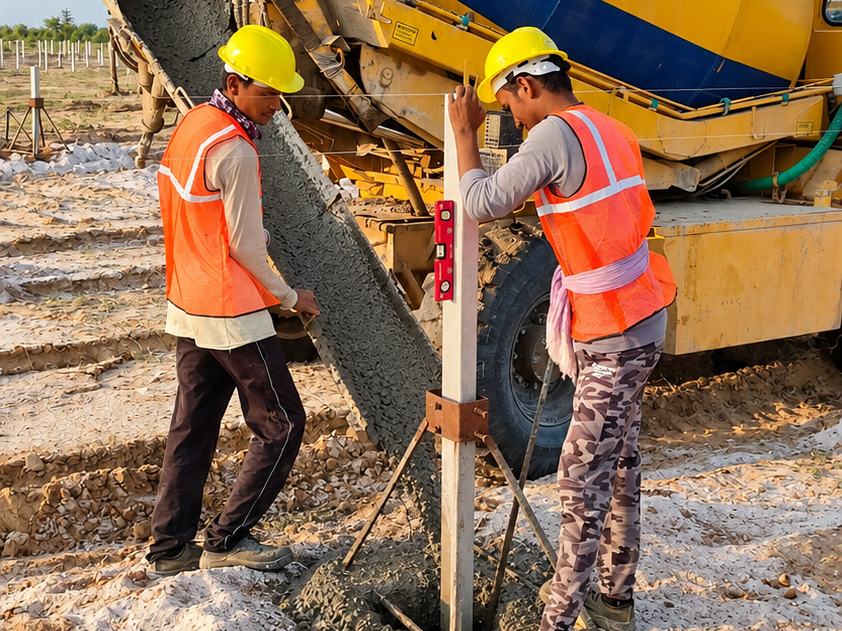
Casting and levelling a solar pile with a concrete mixer
Step 3

Piling and foundations

Holes are augered with our own tractor-mounted augers, piles are set to line and level, and concrete is cast and cured.

  • Augering to design depth
  • Pile verticality checked with a level
  • Slump test and cube samples for every pour
  • Curing as per specification
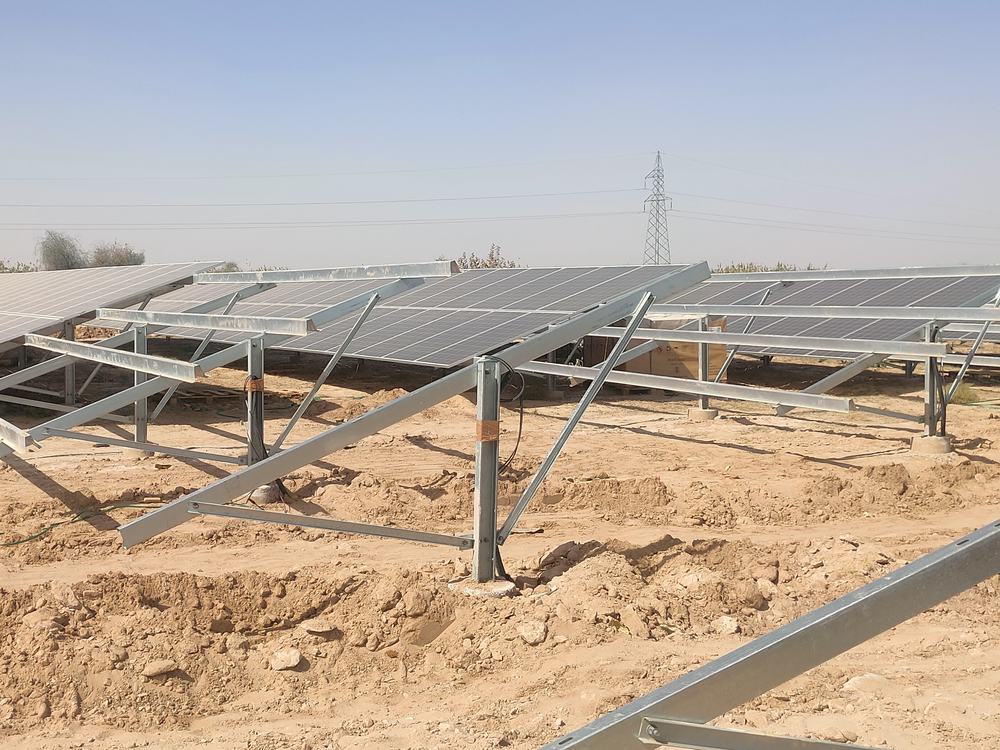
Module mounting structures being erected
Step 4

Module mounting structure erection

Module mounting structures (MMS) are erected on the piles and aligned so that every table sits straight and at the right tilt.

  • Galvanizing thickness spot checks
  • Row alignment and tilt angle checks
  • Bolts tightened to the torque chart and marked
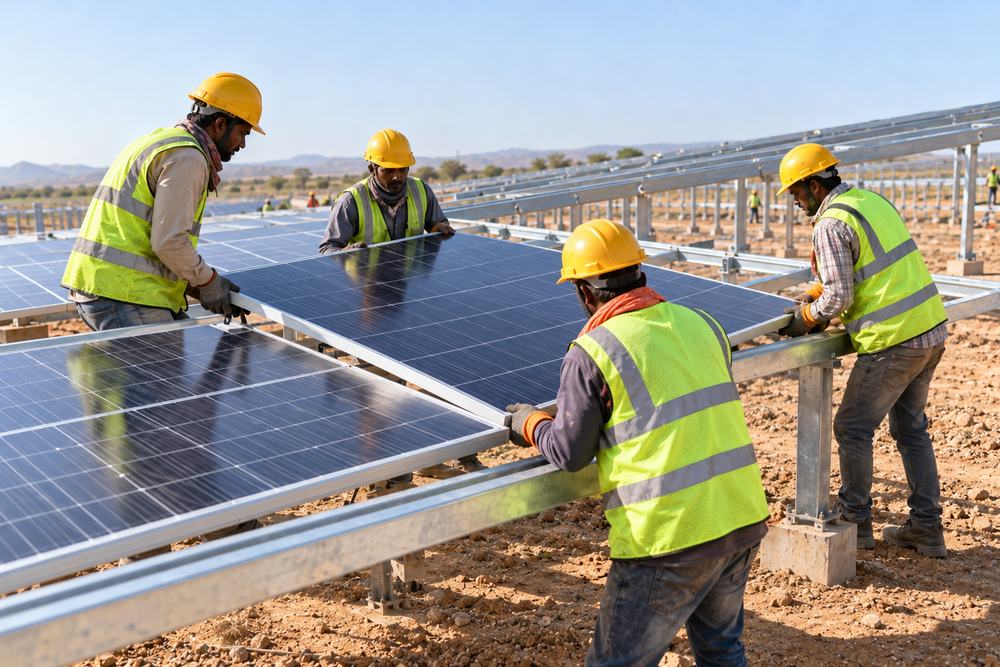
Workers installing solar modules on mounting structures
Step 5

Solar module installation

Modules are handled and fixed as per the manufacturer's instructions to avoid micro-cracks and damage.

  • Careful unloading and handling
  • Clamps fixed to specified torque
  • Visual inspection of every module
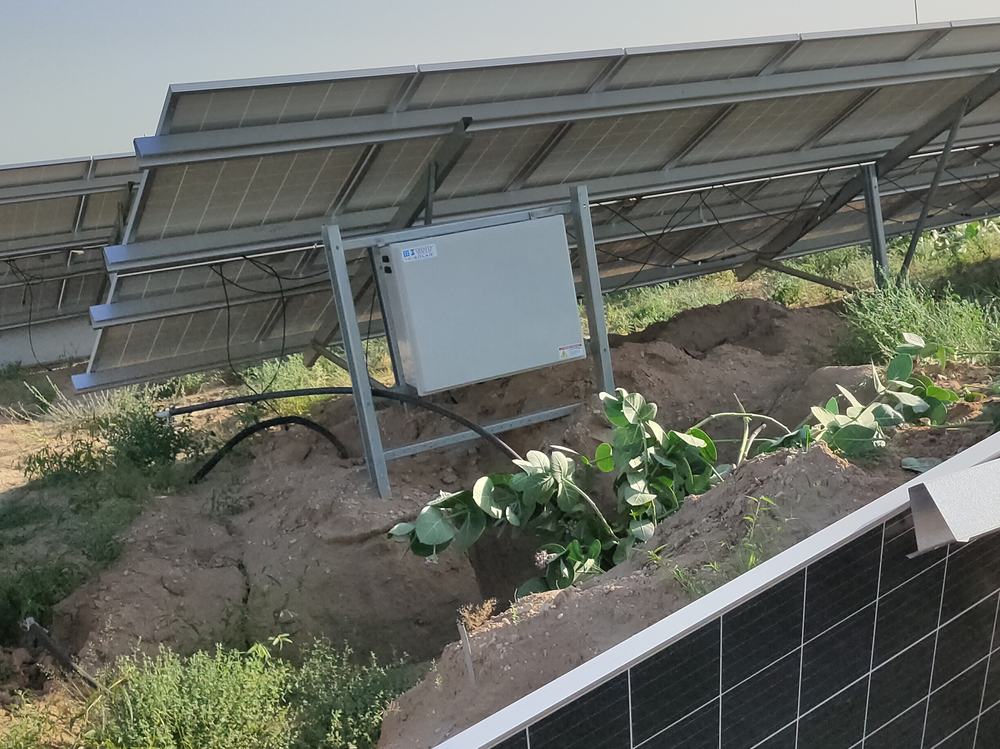
String combiner box and DC cabling
Step 6

DC and AC cabling

Cables are laid, terminated and labelled so the plant is safe, neat and easy to maintain.

  • Cable trenching and laying
  • Connector crimping and termination
  • String combiner box and inverter connections
  • Cable tagging and earthing
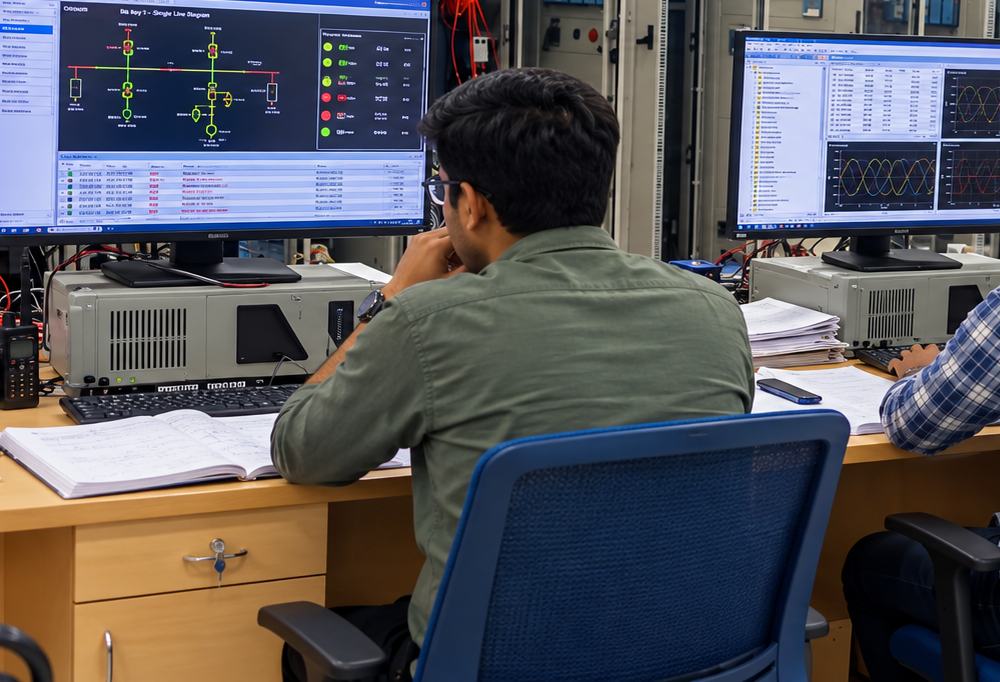
Engineers checking inverter and SCADA screens
Step 7

Testing and commissioning

Before the plant is energised, every string and connection is tested and recorded.

  • Insulation resistance and continuity tests
  • String open-circuit voltage and polarity checks
  • Earth resistance, IV curve and thermography
  • Inverter and SCADA checks
Engineers shaking hands at a completed solar plant
Step 8

Handover

The plant is handed over with complete documentation, ready for client and third-party inspection.

  • Punch list closed
  • Test reports and records handed over
  • As-built details shared

Planning a solar project?

Share your scope and timeline. We will come back with availability and a quote, or send you our company profile.

Have land?

Planning a solar plant on your agricultural land or for your business?

Solar for landowners
Solunar engineer

Got questions?

Our engineers are one WhatsApp message away.

Chat with our team

Get our company profile

Share a few details and our team will send the Solunar Infratech company profile to you.